yourapiexpert/ATCommands无法使用?
使用Arduino驱动4G模块,需要使用AT指令相关的库,网上搜到了yourapiexpert/ATCommands,看介绍功能都能满足,但是基本的例子却跑不起来,这里记录一下。
/*
 This program is free software: you can redistribute it and/or modify
    it under the terms of the GNU General Public License as published by
    the Free Software Foundation, either version 3 of the License, or
    (at your option) any later version.

    This program is distributed in the hope that it will be useful,
    but WITHOUT ANY WARRANTY; without even the implied warranty of
    MERCHANTABILITY or FITNESS FOR A PARTICULAR PURPOSE.  See the
    GNU General Public License for more details.

    You should have received a copy of the GNU General Public License
    along with this program.  If not, see <https://www.gnu.org/licenses/>.
*/
#include <ATCommands.h>

#define WORKING_BUFFER_SIZE 255 // The size of the working buffer (ie: the expected length of the input string)

ATCommands AT; // create an instance of the class

/**
 * @brief at_run_cmd_print
 * This is called when AT+PRINT is sent and is intended to invoke a function that does
 * not require parameters or has already had them set via WRITE (see other examples)
 * @param sender
 * @return true
 * @return false
 */
bool at_run_cmd_print(ATCommands *sender)
{
  sender->serial->println(F("Hello World!"));
  return true; // tells ATCommands to print OK
}

/**
 * @brief at_test_cmd_print
 * This is called when a test command is received (AT+TEST=?) and is usually invoked when
 * information needs to be retrieved (such as a list of SSIDs for WIFI) or other tests
 * not requiring parameters.
 * @param sender
 * @return true
 * @return false
 */
bool at_test_cmd_print(ATCommands *sender)
{
  sender->serial->print(sender->command);
  Serial.println(F("=<TEXT:STRING[RO]>"));
  Serial.println(F("Prints \"Hello World\" to the terminal"));
  return true; // tells ATCommands to print OK
}

// declare the commands in an array to be passed during initialization
static at_command_t commands[] = {
    {"+PRINT", at_run_cmd_print, at_test_cmd_print, NULL, NULL},
};

void setup()
{
  // put your setup code here, to run once:
  Serial.begin(115200);

  AT.begin(&Serial, commands, sizeof(commands), WORKING_BUFFER_SIZE);
}

void loop()
{
  // put your main code here, to run repeatedly:
  AT.update();
}
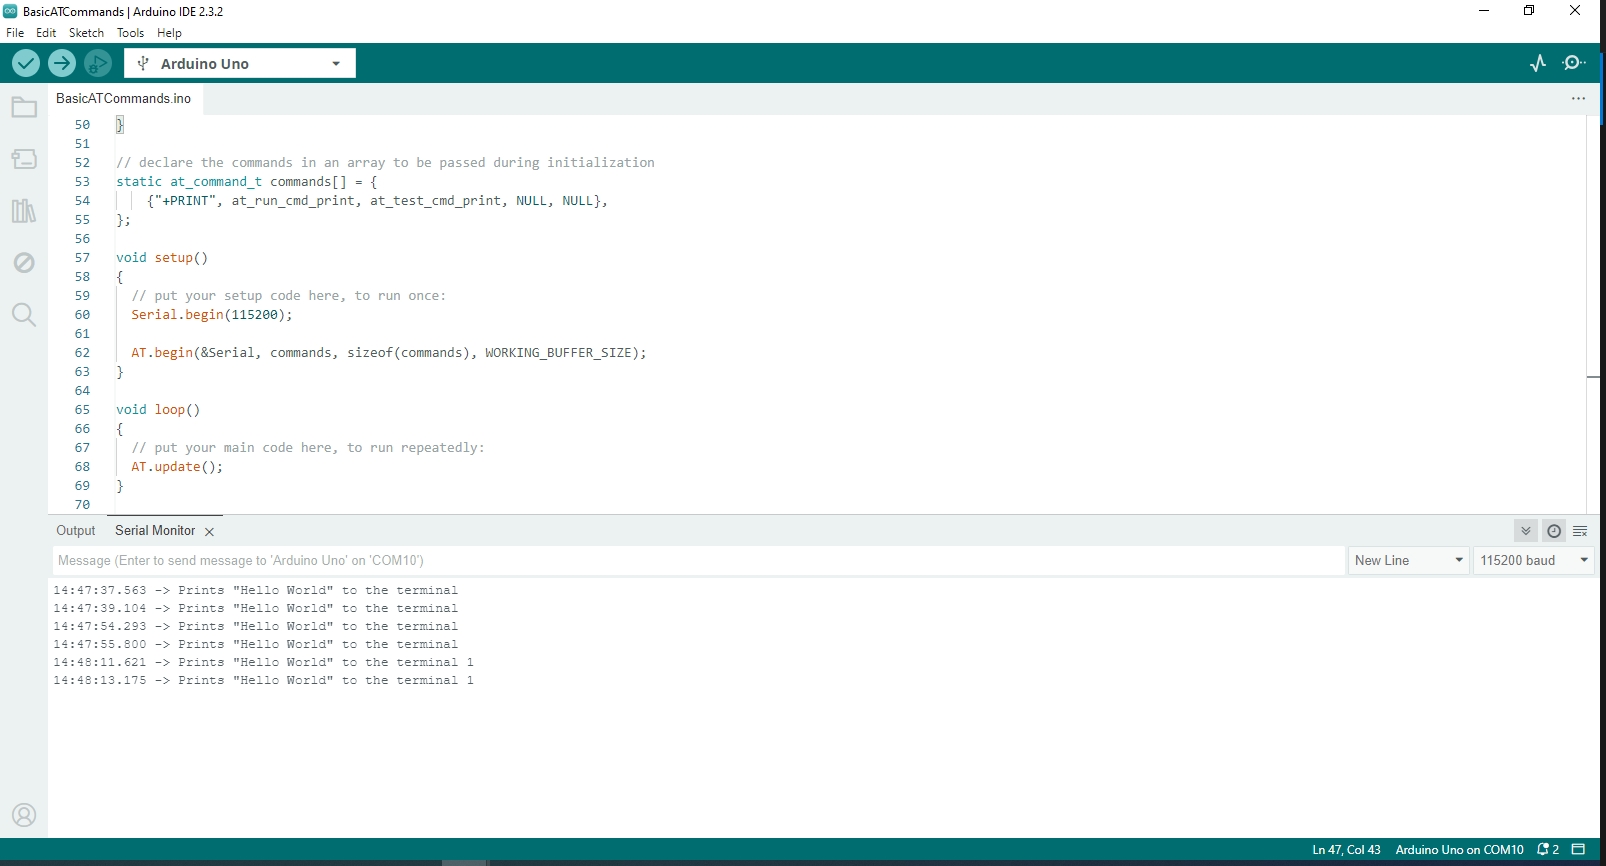 |
|---|
| 例子 |